The internet is for everyone, or at least it should be. Yet, for many, especially those with disabilities, navigating websites can feel like an uphill battle—reading lengthy text, deciphering fancy fonts, and whatnot.
That’s where website accessibility comes in. It means creating digital spaces that are accessible to anyone, regardless of their abilities.
Text-to-speech (TTS) technology stands out as one of the most effective ways to make websites accessible. By converting written text into spoken words, TTS helps create websites that are easier to navigate and truly inclusive. In this article, we’ll explore:
- The importance of accessible web content
- How text-to-speech enhances website accessibility
- Benefits of voice-enabled website accessibility
- Top AI tools to improve website accessibility with text-to-speech
- How to create accessible website design with AI
- Real-life examples of inclusive websites using text-to-speech and more.
Why Website Accessibility Matters in Today’s Digital World

Website accessibility is not just about inclusivity; it’s a legal and moral responsibility. Laws like the Americans with Disabilities Act (ADA) and the Web Content Accessibility Guidelines (WCAG) mandate that websites accommodate the needs of individuals with disabilities. If you fail to meet web accessibility compliance, it can not just result in lawsuits but can even harm your brand reputation.
In addition, when you prioritize accessible web content, you’re showing that you care about creating a space where everyone feels welcome. Plus, it opens up your website to a much broader audience, which is always a win.
How Text-to-Speech Enhances Website Accessibility
TTS solutions for accessibility make navigating websites effortless. Instead of straining your eyes to read content, you can use these AI-powered accessibility tools to have them read aloud. This voice-enabled user experience is especially helpful for visually impaired web users and those with reading disabilities like dyslexia.
In addition, many AI-driven text-to-speech tools provide natural-sounding translations in multiple languages. This allows you to create an inclusive website design that breaks language barriers and transcends your reach beyond borders.
Top AI Tools for Website Accessibility with Text-to-Speech
Here are the top 5 AI-driven text-to-speech tools to help you improve website inclusivity and accessibility:
Speaktor
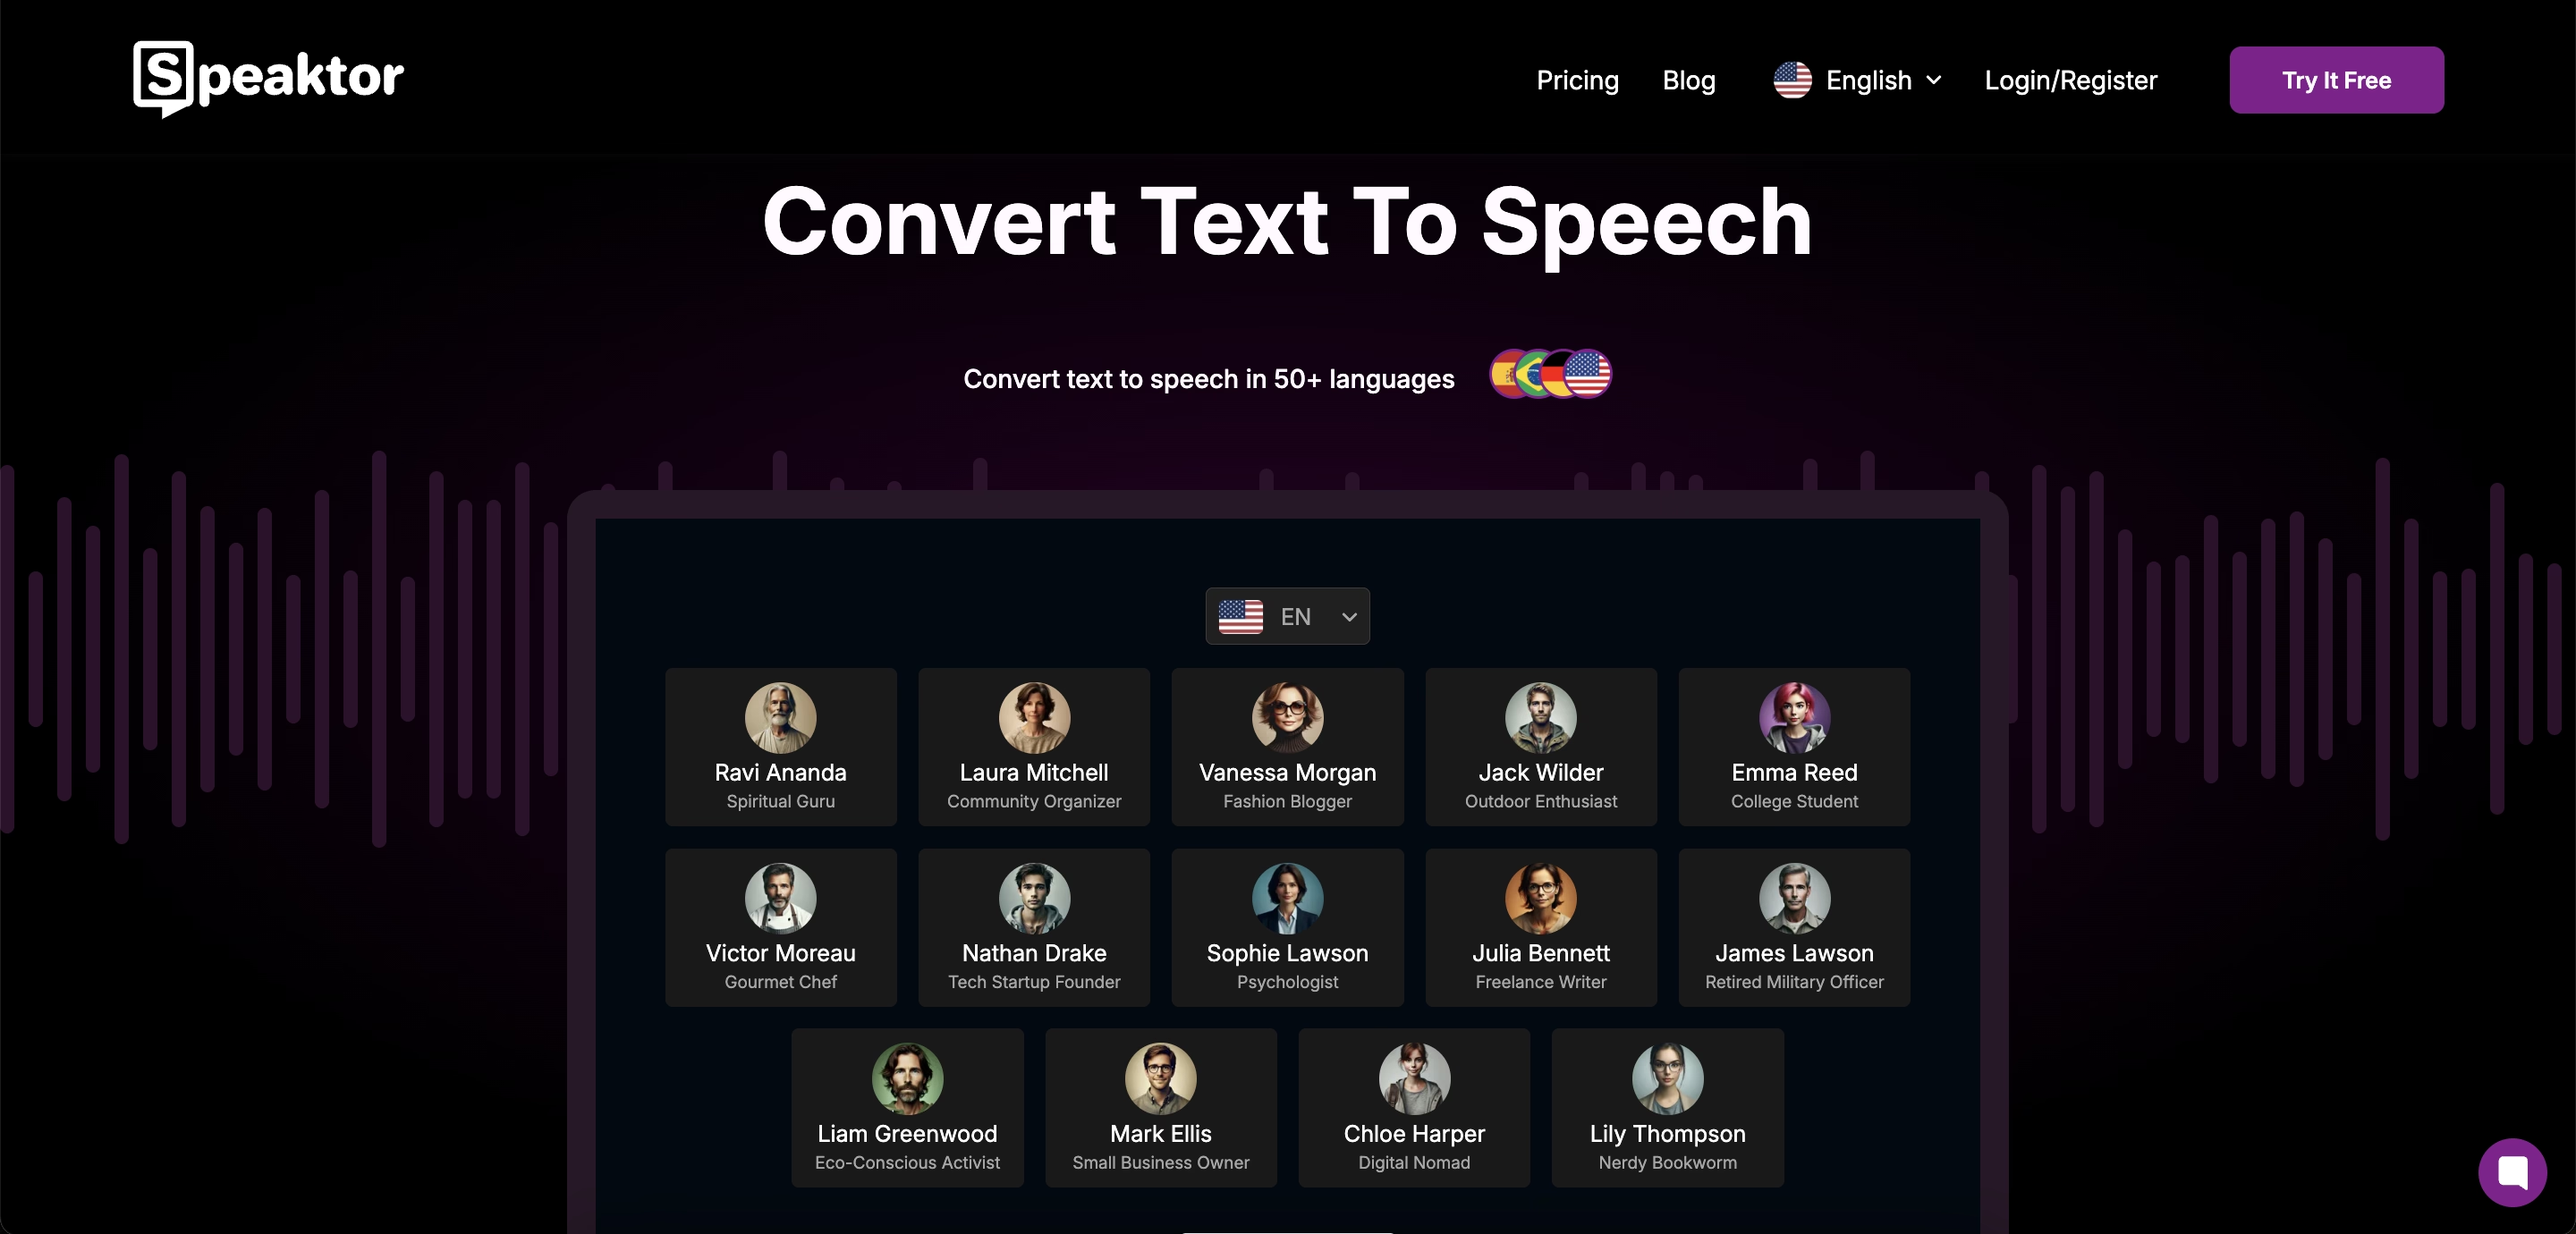
Speaktor is one of the best AI tools for website accessibility with text-to-speech. Its natural-sounding voices and wide language support make it an excellent choice for both individuals and businesses looking for reliable TTS functionality.
Top Features:
- Natural, human-like voices for seamless user interaction.
- Support for 50+ languages and multiple voice profiles.
- Customizable playback speed to cater to diverse user preferences.
- Compatibility with PDFs, Word documents, and web content.
- Easy integration for websites, making accessibility improvements effortless.
Pros:
- Affordable pricing.
- Intuitive and easy-to-use interface.
- Wide language support for global audiences.
NaturalReader
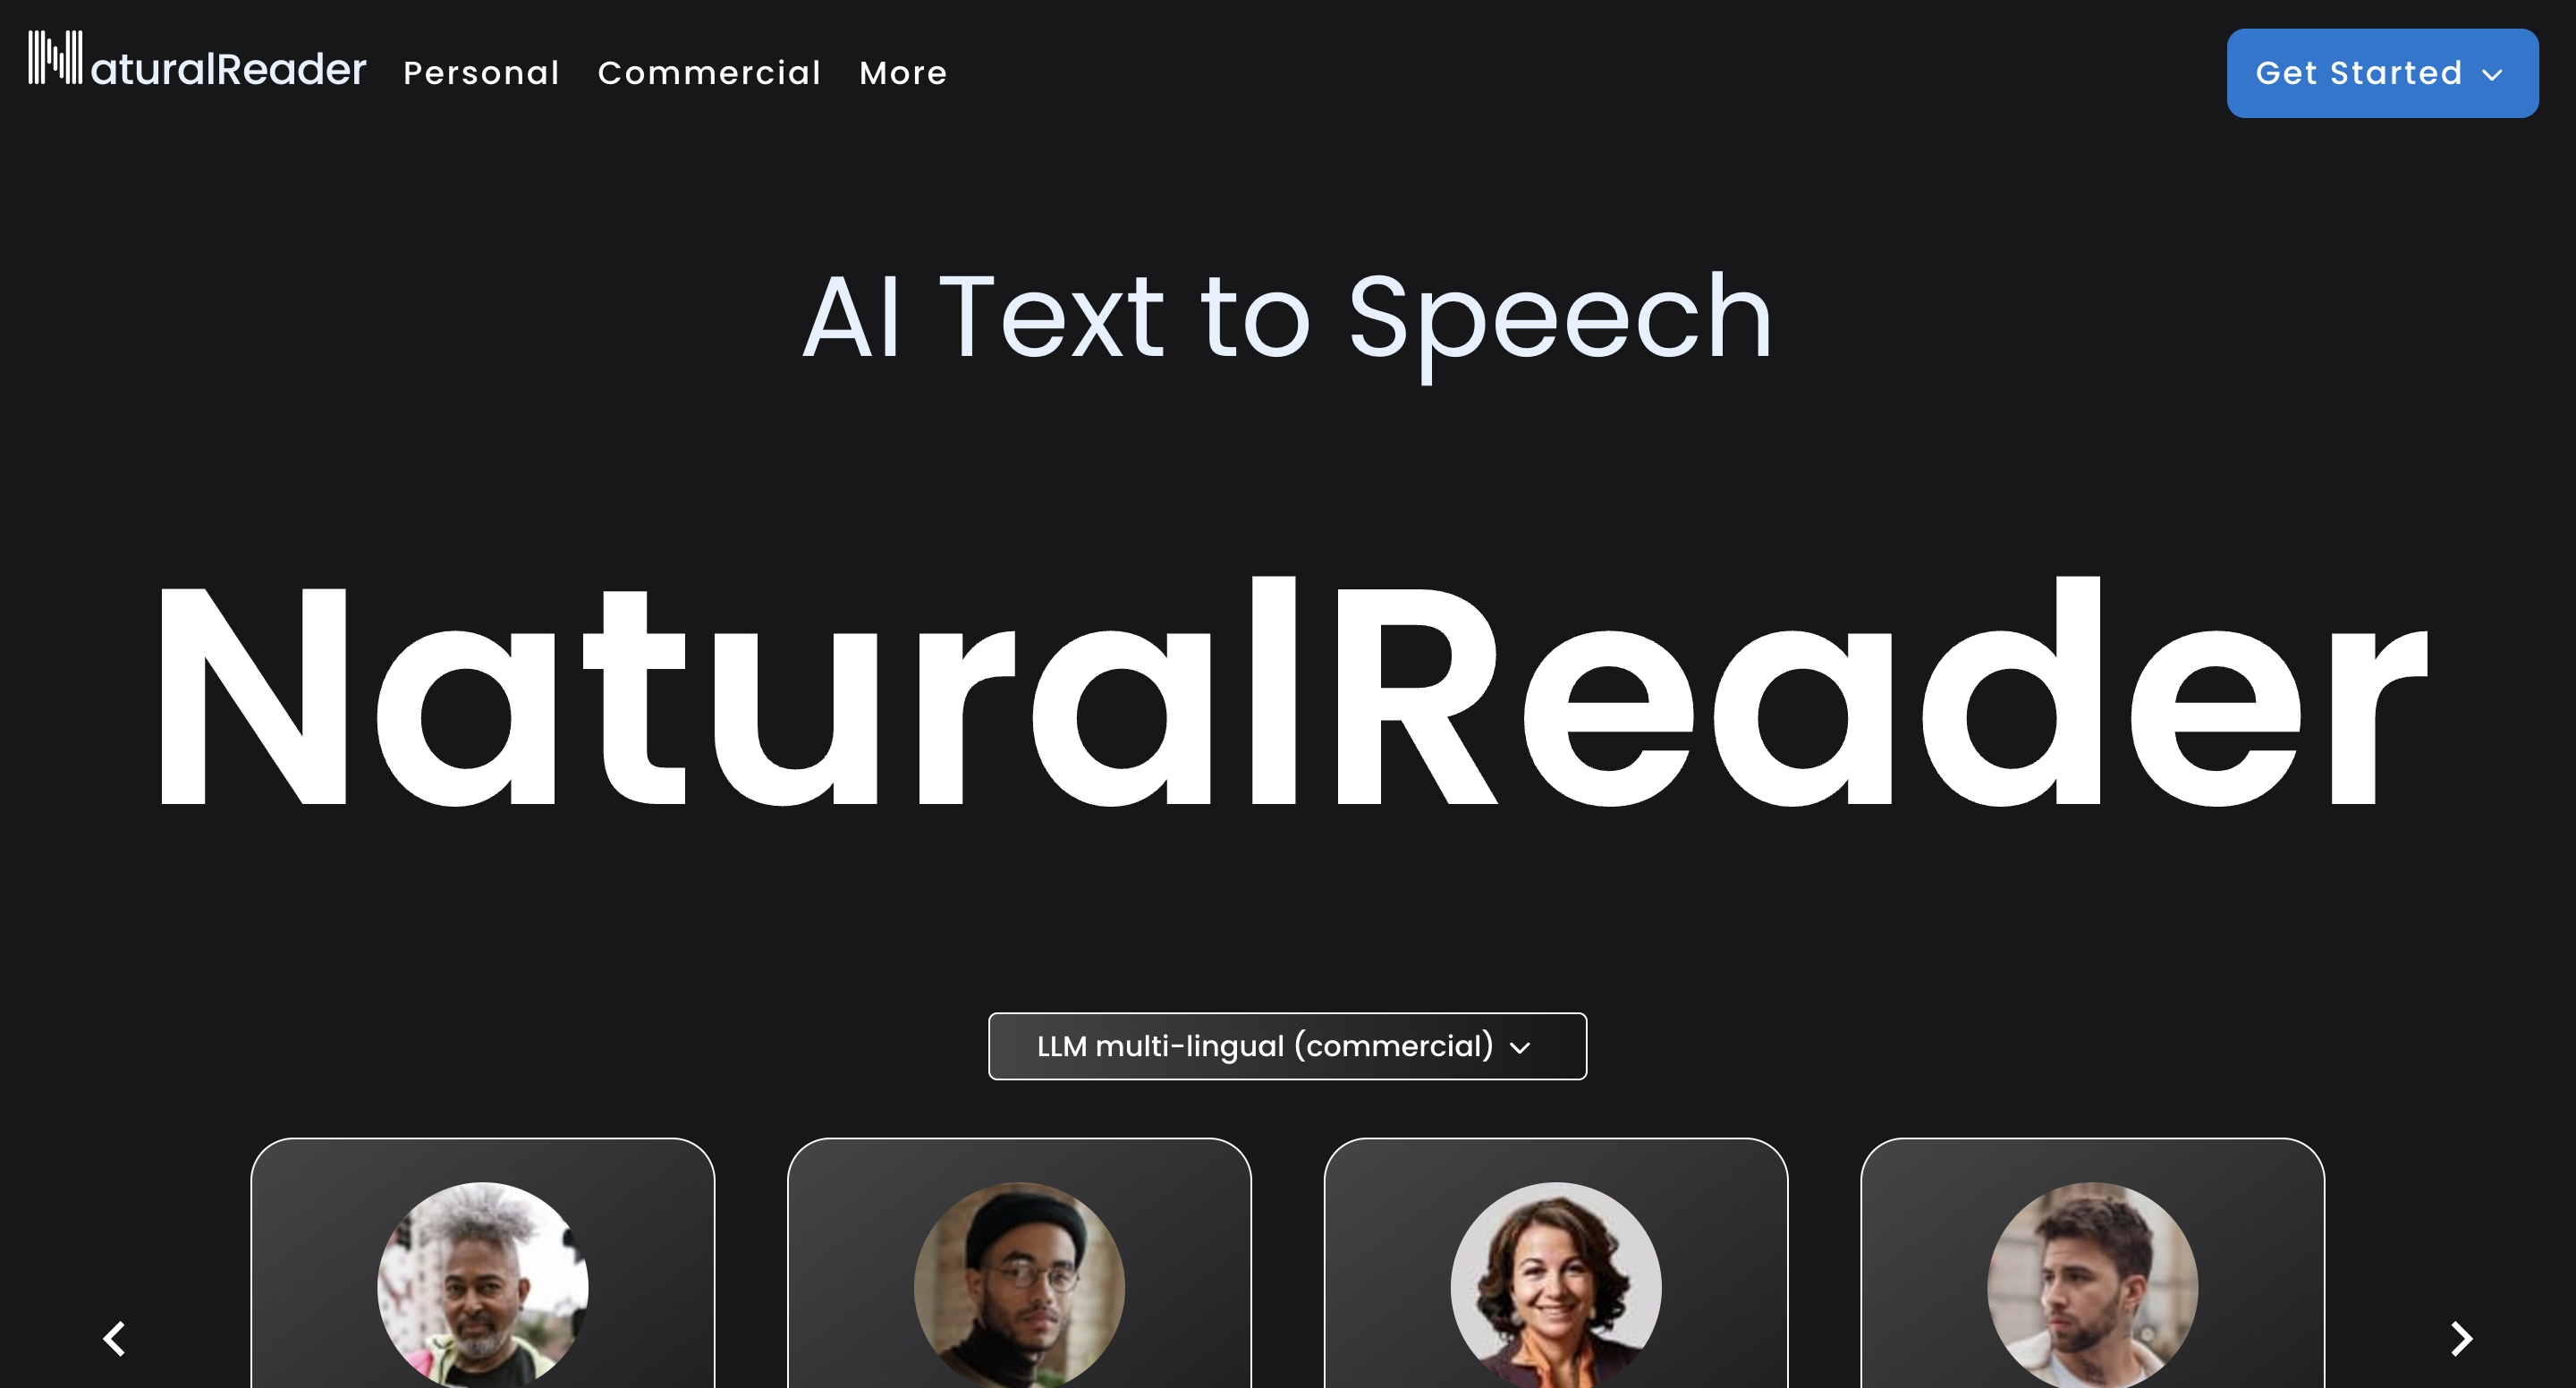
NaturalReader is a versatile AI-powered TTS tool suitable for both casual users and professionals. Its advanced speech synthesis technology and ease of use make it a strong contender for improving inclusive website design.
Top Features:
- Over 200 natural-sounding voices in 50+ languages.
- Voice cloning capability for personalized user experiences.
- Compatibility with PDFs and over 20 other file formats.
- Adjustable speech speed, pitch, and volume for customized experiences.
Pros:
- Wide variety of voice options.
- Supports multiple content formats.
Cons:
- Expensive when compared to its alternatives
- Voice cloning requires additional setup and expertise.
Amazon Polly
Amazon Polly offers robust AI-driven TTS capabilities tailored for large-scale websites. Its advanced neural voices and scalability make it a go-to choice for businesses targeting global audiences.
Top Features:
- Neural TTS voices for highly realistic speech.
- Real-time text-to-speech processing.
- Custom lexicons for industry-specific terminology.
- Seamless integration with AWS services for enhanced functionality.
Pros:
- Highly scalable for enterprise-level applications.
- Real-time processing for fast results.
- Reliable integration with AWS services.
Cons:
- Complex setup for beginners.
- Requires AWS expertise for optimal use.
Google Text-to-Speech
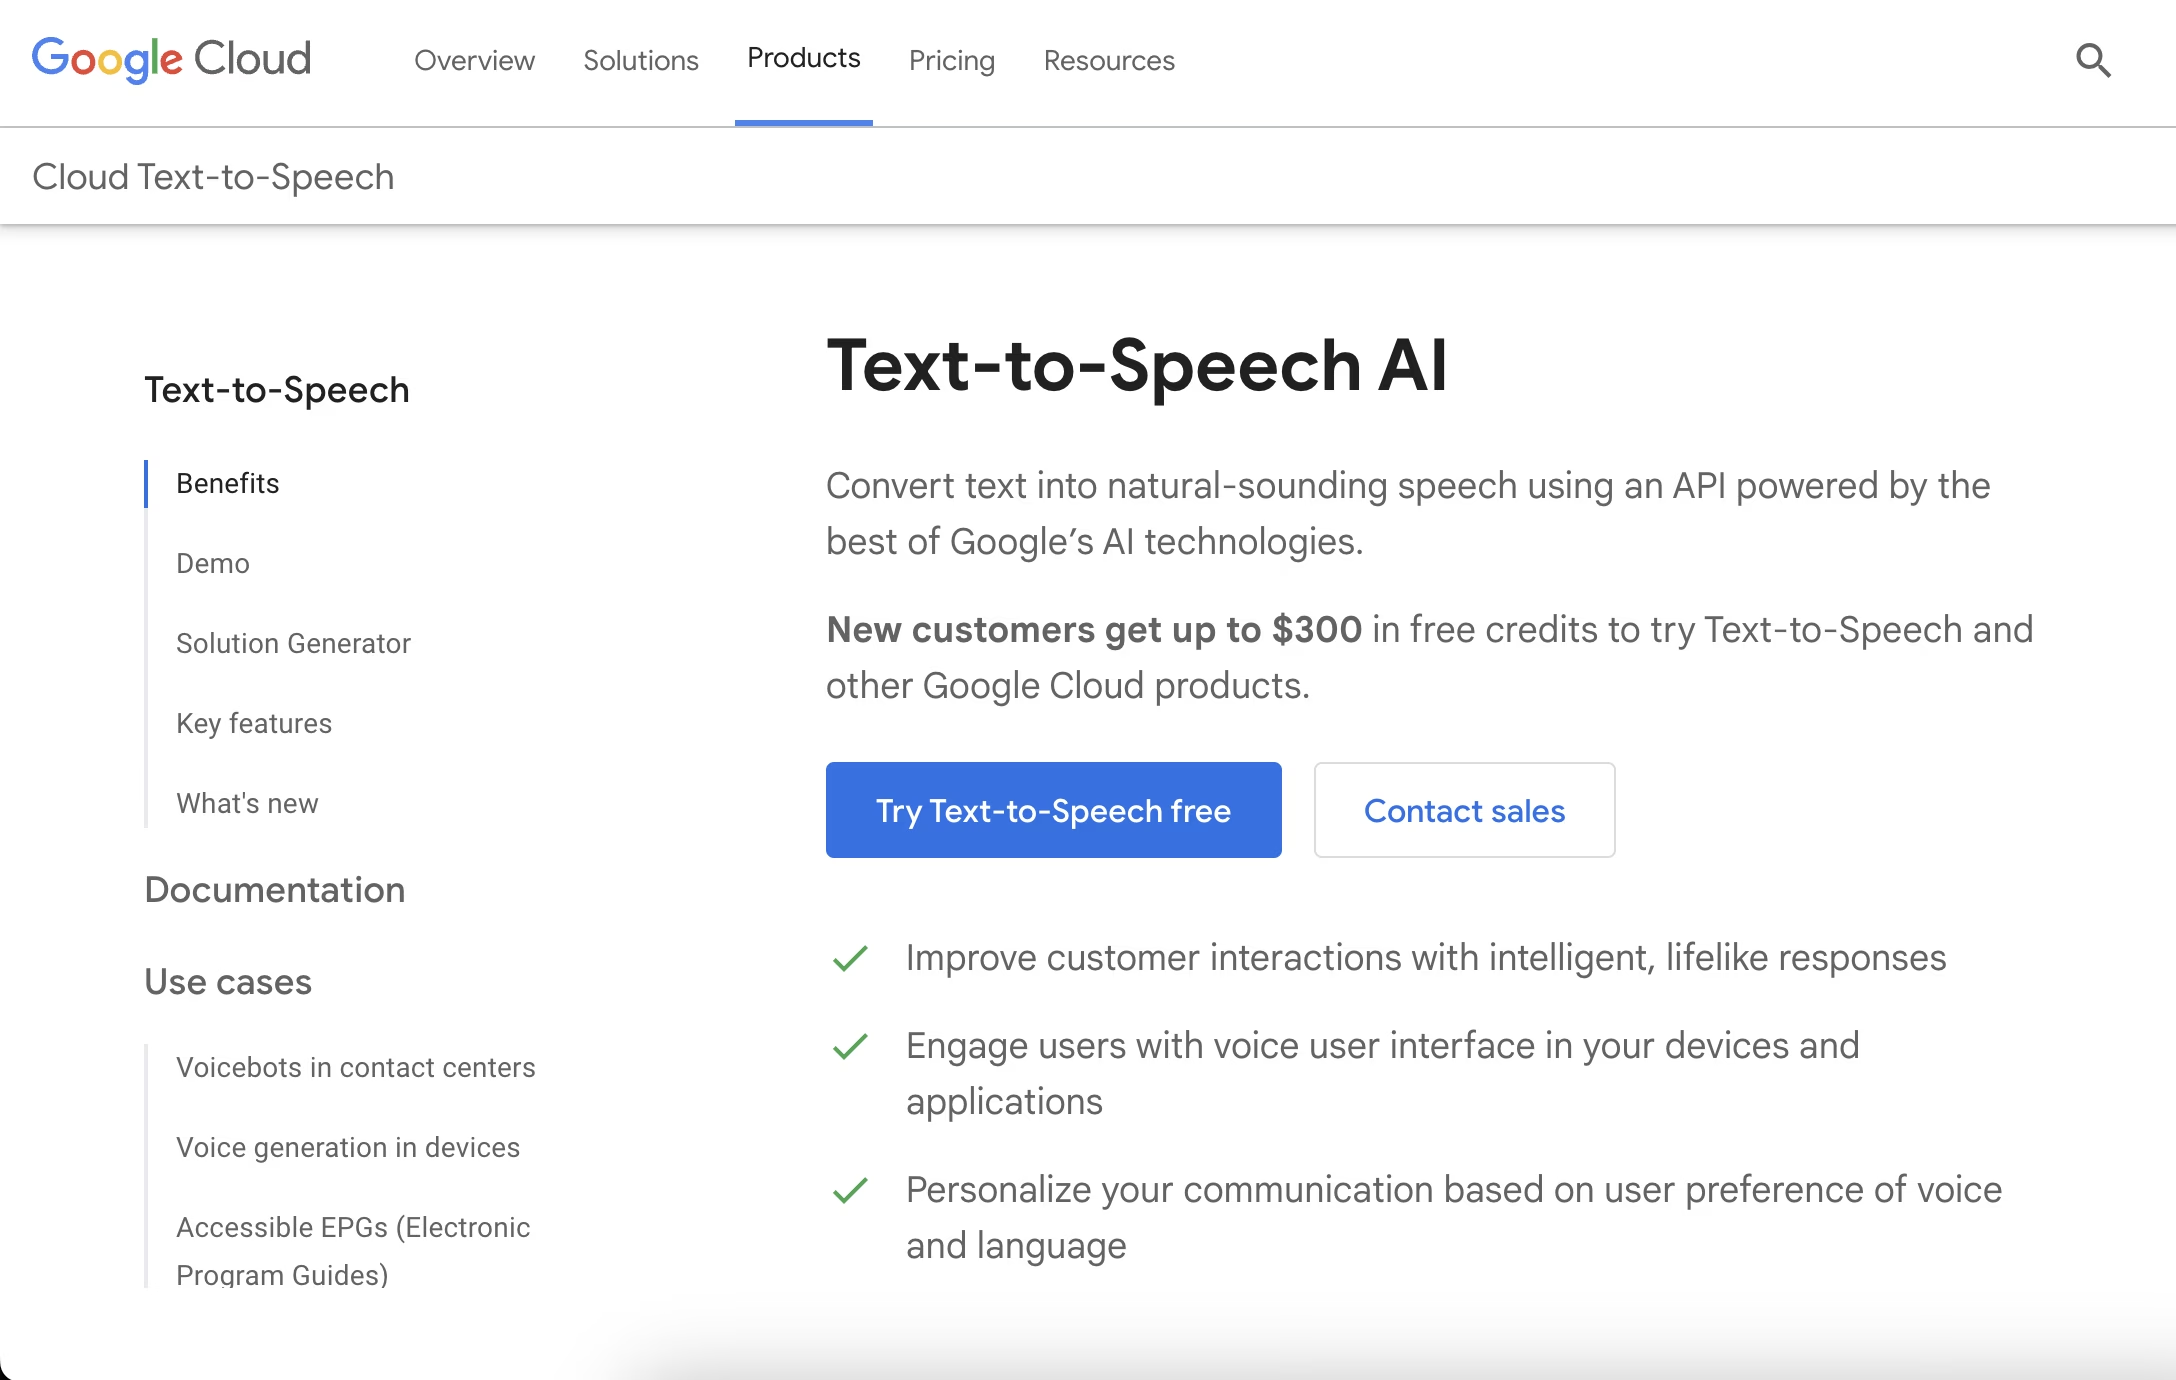
Google Text-to-Speech provides developers with an easy way to integrate TTS functionality into their websites. Its extensive language support and integration with other Google tools make it a practical choice for enhancing web content with text-to-speech.
Top Features:
- Wide language support with regional accents.
- Real-time speech processing.
- Integration with Google Cloud for advanced AI-powered accessibility.
- Adjustable voice parameters to match diverse user needs.
Pros:
- Seamless integration with Google’s ecosystem.
- Extensive language and accent options.
Cons:
- Limited customization for advanced users.
- Requires familiarity with Google Cloud for optimal use.
Microsoft Azure Speech Service
Microsoft Azure Speech Service stands out for its feature-rich capabilities and focus on accessibility compliance. It's best for businesses looking for tools that meet web accessibility compliance standards.
Top Features:
- Support for WCAG and ADA compliance through advanced TTS.
- Customizable voices with neural speech synthesis.
- Multilingual support to break language barriers.
- Integration with Azure’s ecosystem for seamless deployment.
Pros:
- Strong focus on accessibility compliance.
- Highly customizable voice options.
- Excellent support for enterprise-level applications.
Cons:
- Higher cost compared to other solutions.
- Requires expertise in Azure tools for full functionality.
Benefits of Voice-Enabled Website Accessibility
There are many benefits to making websites accessible with voice tools. Here are a few:
1. Improves user experience
A voice-enabled website is easier to navigate. Instead of relying solely on visual elements, users can listen to content, which is particularly helpful for those who prefer auditory learning or have difficulty processing written text.
2. Enhances inclusivity and brand identity
Adding voice-enabled features to your website shows your commitment to inclusivity and social responsibility. It helps you create a welcoming digital environment for everyone, including those with disabilities or language challenges.
3. Increase engagement
Audio content is perfect for multitaskers—whether they’re commuting, cooking, or just relaxing, it lets them easily consume your content without needing to focus on a screen. This convenience keeps users on your site longer, reducing bounce rates and increasing overall engagement. And, when people spend more time on your site, it sends a strong signal to search engines, which can boost your rankings.
How to Choose the Best Text-to-Speech Solution for Your Website
A good TTS tool doesn’t need to be flashy—it just needs to work for your audience and fit your website’s needs. However, there are a few important things to consider before making your final choice:
- Budget: Determine how much you’re willing to spend and ensure the tool offers value for its price.
- Ease of use: Look for a solution that’s simple to integrate and manage, both for your team and your users.
- Language support: Make sure the tool supports the languages and accents needed to reach your audience. The more languages the tool supports, the wider will be the reach of your brand.
- Customization: Opt for tools with features like adjustable playback speed and voice options to meet diverse user preferences.
- Accessibility goals: Consider how the tool works with other accessibility features. For example, some people rely on screen readers to navigate websites, while others benefit more from TTS tools for consuming content. Understanding the difference between screen readers vs text-to-speech can help you choose what’s right for your audience.
Steps to Implement Text-to-Speech Tools on Your Website
Before adding a TTS to your website, make sure it meets the following pre-requisites:
- HTTPS-enabled site: Ensure your website uses HTTPS to secure data transfer between your site and the TTS service.
- API or plugin compatibility: Ensure your website supports the TTS tool’s API (e.g., JavaScript, Python) or plugins for easy integration.
- Secure API key management: Set up a secure environment to store and manage API keys, such as using environment variables.
- Server and hosting capacity: Confirm your server can handle the load from audio processing and playback without affecting site performance.
- Frontend integration readiness: Prepare your site’s UI for TTS controls like play/pause buttons and synced text highlighting.
Once these criteria are met, follow these steps:
1. Identify goals
Evaluate why you want to integrate a TTS technology into your website and list down the results you expect from it. Whether it's just to adhere to digital accessibility best practices or to provide multilingual support and increase your audience reach. This evaluation helps you identify the right tool, which comes as the next step.
2. Pick the right tool
There are tons of options—Speaktor, Google TExt-to-Speech, or Amazon Polly. Based on your purpose/goals select the tool. In general, look for natural-sounding voices, language support, and how easy it is to integrate.
3. Grab the API or plugin
Sign up for your chosen TTS tool and get an API key. If you’re using a platform like WordPress, download a plugin instead.
4. Integrate it
If you're coding, add the API script and define the text that’ll be read aloud. If you're using a plugin, just follow the setup guide. You may also add a play button, adjust playback speed, and highlight text as it’s read to enhance the user experience.
5. Test and fine-tune
Once done, try it out on different devices and browsers to ensure it's working smoothly. Also, use icons, tutorials, or pop-ups to let visitors know they can listen to your content.
That’s it! Your TTS setup to make the website more accessible and engaging is ready.
Real-Life Examples of Inclusive Websites Using Text-to-Speech
In 2020, the BBC found 62% of their audience spent up to four hours daily on podcasts instead of reading websites. So, they launched an AI-powered synthetic voice which ‘reads’ articles on BBC.com, letting users listen to articles and engage with them in a new way. This move significantly improved their website accessibility and helped the BBC reconnect with its audience.
Following the footsteps Forbes and The Guardian also added text-to-speech options to their website. This initiative not only expanded their reach but also improved their brand power by demonstrating a strong commitment to accessibility compliance.
The Future of Website Accessibility with AI-Powered Tools
The future of website accessibility is driven by AI-powered tools. As AI evolves, you can expect innovations like
- Personalized interfaces that adapt to individual needs,
- Hyper-realistic voices in text-to-speech and ethical voice cloning,
- Real-time translation that breaks language barriers, and
- Wearable tech that enables users to navigate content that is not limited to a screen
The possibilities are endless!
Conclusion
Accessibility is no longer optional—it’s essential, and text-to-speech is one of the simplest and most effective ways to achieve it. By reading content aloud, TTS tools create accessible web content for visually impaired users, individuals with reading challenges, and non-native speakers. This not only broadens a website’s audience but also ensures compliance with accessibility standards.
So, whether you’re looking to comply with accessibility standards or improve your brand’s reputation, TTS tools are a smart investment. Explore solutions like Speaktor to revolutionize your voice-enabled website accessibility and create a truly inclusive digital space today!